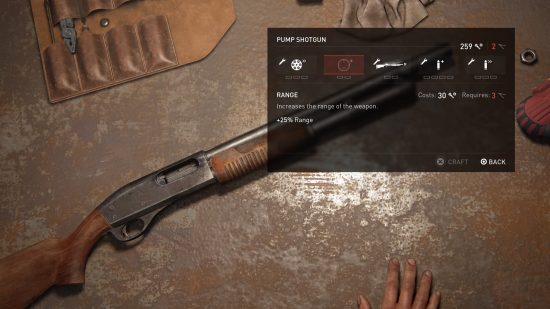
If you’re looking for The Last of Us workbench tool locations, we’ve got all the information you need. The workbench tools are collectibles that allow you to enhance your weapons – each tool you collect raises your tool level, offering enhanced upgrades whenever you’re at a workbench.
You’ll need to collect all five The Last of Us workbench tools in order to gain access to every upgrade – which can include increased rate-of-fire, extra clips in the magazine, improved draw times, wider spread, and more. Moreover, once all five tools are in your inventory, you’ll also earn the ‘Sharpest Tool in the Shed’ achievement. Here’s every The Last of Us workbench tool location to help you fully level the workbench and unlock all weapon upgrades.
The Last of Us workbench tool locations
Occasionally on your travels, when you aren’t creeping around clickers or dodging psychopathic pastors, you’ll come across nondescript red toolboxes. Inside these toolboxes are workbench tools, and while they may not seem significant, those tools are vital to your survival in The Last of Us. Here is the location of all five workbench tools:
First workbench tool: Bill’s Town – Graveyard
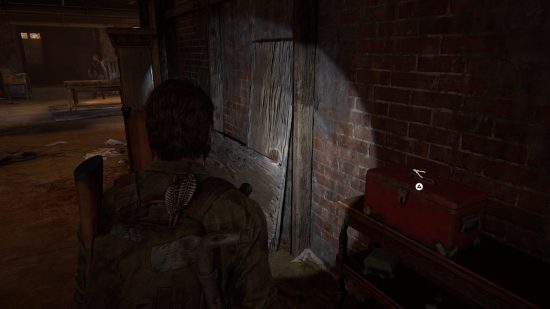
At the start of this section in this chapter, Bill will ask you to watch as he makes a Nail Bomb. Make your way to a nook just across from that and open the red toolbox on the shelf.
Second workbench tool: Pittsburgh – Alone and Forsaken
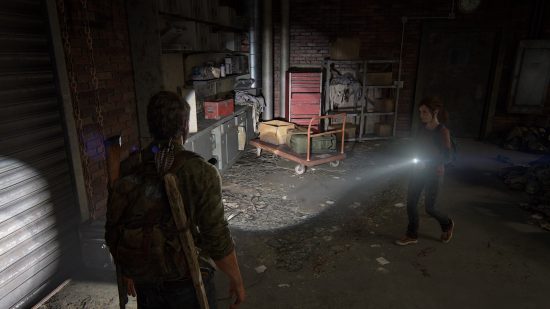
When this chapter begins, Joel and Ellie will be attacked by a group of bandits. After taking them out, Ellie will walk to a shutter that can be opened. Inside, you’ll find yourself in a garage that has corpses on slabs. The toolbox is to your left near the first Smoke Bomb that you can pick up.
Third workbench tool: The Suburbs – Sewers
Continue further into this chapter until you reach a large chamber that’s filled with water. Ellie, Henry, and Sam can’t swim, so it’s up to Joel to help them across.
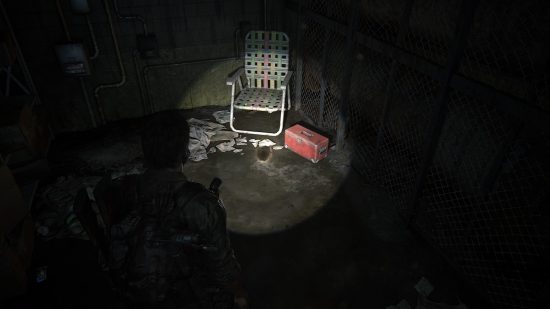
Once the group has made it, you’ll be in a narrow tunnel that leads to a control room. Before you reach it, look to your left. There’s a small room that has this toolbox.
Fourth workbench tool: University – Science Building
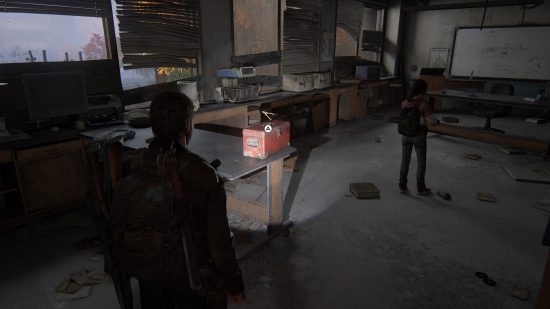
This Workbench Tools upgrade in The Last of Us can be found on the second floor of the building. Once you’re inside, don’t exit via the Atrium door. Instead, go to the end of the hallway until you see Room 205 – Lecture Room. Use a Shiv to unlock it.
The red toolbox is on a desk in this room. It’s also right next to the Deployment training manual (i.e., Molotov upgrade). You can learn more in our training manuals guide.
Fifth workbench tool: Bus Depot – Highway Exit
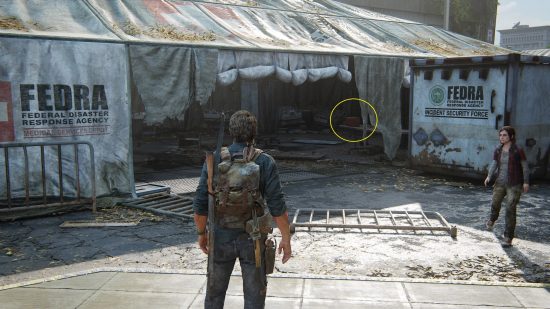
The final Workbench Tools upgrade in The Last of Us is in a FEDRA tent. Proceed further in this chapter until you get to the scene with the giraffe. After that, make your way to the open area. You’ll find this container in the large tent in the middle.
Now that you know all five The Last of Us workbench tool locations, it’s time to get out there and get savaging. You don’t need to collect these tools in order, either, so if you miss one on your first playthrough, just grab it next time. While you’re collecting tools, check out all The Last of Us Firefly pendants and The Last of Us safe codes too – leave no stone unturned. If you aren’t quite up to facing the infected right now, our best PC games list will have something that’s guaranteed to be up your street.


