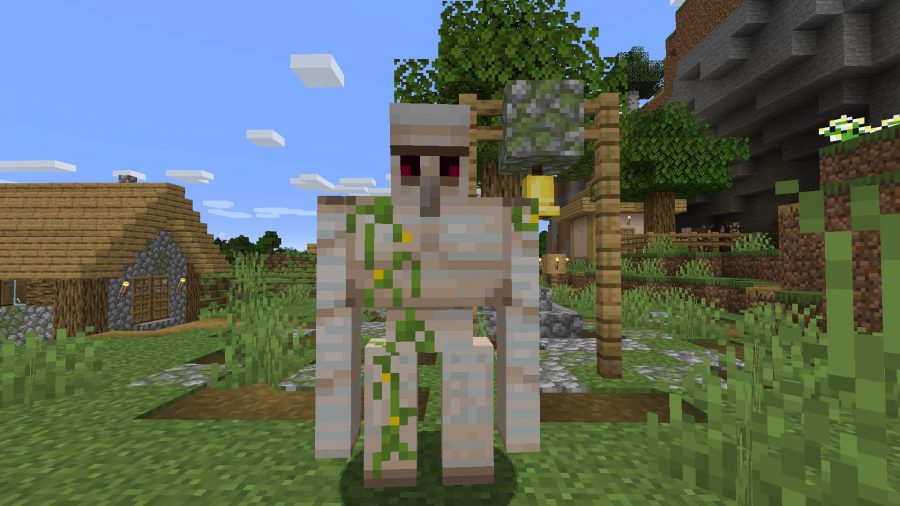
Looking to set up your very first Minecraft Iron Golem farm? A Minecraft Iron Golem is for life, not just for Halloween, that’s how the saying goes, right? Iron Golems are one of the most fascinating parts of Minecraft, especially because you can create them yourself, and as we all know, the ability to create life basically makes you a god, and that kind of power is just plain fun. Sure, there’s a lot of responsibility that goes with that, but the important thing is that you can create life out of a few blocks of metal and a root vegetable.
The good news is that you shouldn’t let this rest on your conscience too much. Minecraft Iron Golems are beastly creatures who are incredibly strong, surprisingly kind, and even good for the environment. There’s a lot to learn about these peculiar creatures, so we thought we’d put together a little guide for you to read.
Iron Golems are increasingly helpful when creating farms, so getting to know them and how to set up your fist Iron Golem farm is important stuff.
How to find, summon, and create a Minecraft Iron Golem
There are a few ways to come into contact with an Iron Golem. The easiest, by far, is to simply create one. You can do this by making four Iron Blocks, placing them in a T shape, and then plonking a Jack O’Lantern or carved Minecraft pumpkin on top of it. The actual direction of the shape can be whatever you want, but the layout matters, and there has to be air in the four corners of the 9×9 square space.
The next way is how they spawn in villages. Villagers can summon an Iron Golem when they are panicking or gossiping. We’re not 100% sure how gossiping can summon an Iron Golem, but it doesn’t seem to work in real life, so maybe it’s not worth giving too much thought.
Finally, you can also find Iron Golems in pillager outposts. Here though, they are found inside cages having been trapped by the pillagers. The good news is that you can free them and they’ll then help you take care of the pillagers nearby, making them very powerful allies.
What is a Minecraft Iron Golem?
An Iron Golem is a neutral mob, but it’s one that serves a very good purpose. The primary function of these incredible things is to protect villagers, but they’ll also help protect you in most circumstances. That’s not all either, despite being able to punch the life out of most things, they’re also incredibly kind-hearted, and can often be spotted offering villagers poppies that they can magically create in their hands.
Aside from that, they tend to spend a lot of their time wandering around the villages they protect, or standing guard nearby. They also don’t take any fall damage, they can’t drown (though they avoid water if possible), and will seek out most hostile Minecraft mobs within sixteen blocks of themselves. A word of warning though, if you upset the village they’re in, then they can turn on you permanently. If you reach -15 or less popularity, then you’ll make these imposing creatures your enemy. That’s right: no poppies for you.
Here is a list of Minecraft mobs that an Iron Golem will attack on sight:
- Blaze
- Chicken Jockey
- Drowned
- Enderman
- Endermite
- Giant
- Guardian
- Elder Guardian
- Hoglin
- Magma Cube
- Phantom
- Piglin
- Piglin Brute
- Shulker
- Silverfish
- Spider
- Cave Spider
- Spider Jockey
- Vex
- Evoker
- Illusioner
- Pillager
- Ravager
- Vindicator
- Witch
- Wither
- Zombie
- Husk
- Zombie Villager
- Zombified Piglin
- Zoglin
Iron Golem farm
Want to farm iron from the gentle giants? We won’t judge you. There are loads of ways to do this, but here’s our method.
You need to craft a killing pit filled with lava, with water streams running towards it. Above the killing pit you need to set up your very basic Minecraft village. This can be as simple as having a handful of floating beds, some cauldrons, and some surrounding blocks to stop them falling off or escaping. You also need a threat, like a zombie nearby, so chuck one into a cauldron or composter and suspend that somewhere so the villagers can see it most of the time. You need at least one villager to panic, but you also need your villagers to be able to sleep and work, so positioning can be tricky. This is a little easier if you’re playing in 1.16 as your villagers don’t need to be able to work.
Related: Everything we know about the Minecraft 1.18 release date
Above your weird, suspended village you need a large roof or covering to stop lighting from turning your villagers into witches. You also need to make sure that your Iron Golem can’t spawn in the village, but will instead spawn below it, near the killing pit. To do this, make sure all of your surfaces don’t meet the requirements for the Iron Golem to spawn: buttons placed on top, hollow blocks, or blocks with nothing underneath them are the way to go.
All of this together means the Iron Golem will spawn on the ground, move towards the suspended zombie, get caught in the lava pit, and die. Just place a hopper and some chests below the killing pit and it will suck up any resources.

To see this in action then you can watch Ray Work’s excellent tutorial above.
{“schema”:{“page”:{“content”:{“headline”:”Minecraft Iron Golem farm guide”,”type”:”guide”,”category”:”minecraft”},”user”:{“loginstatus”:false},”game”:{“publisher”:”Mojang”,”genre”:”Survival”,”title”:”Minecraft”,”genres”:[“Survival”,”MMO”]}}}}


