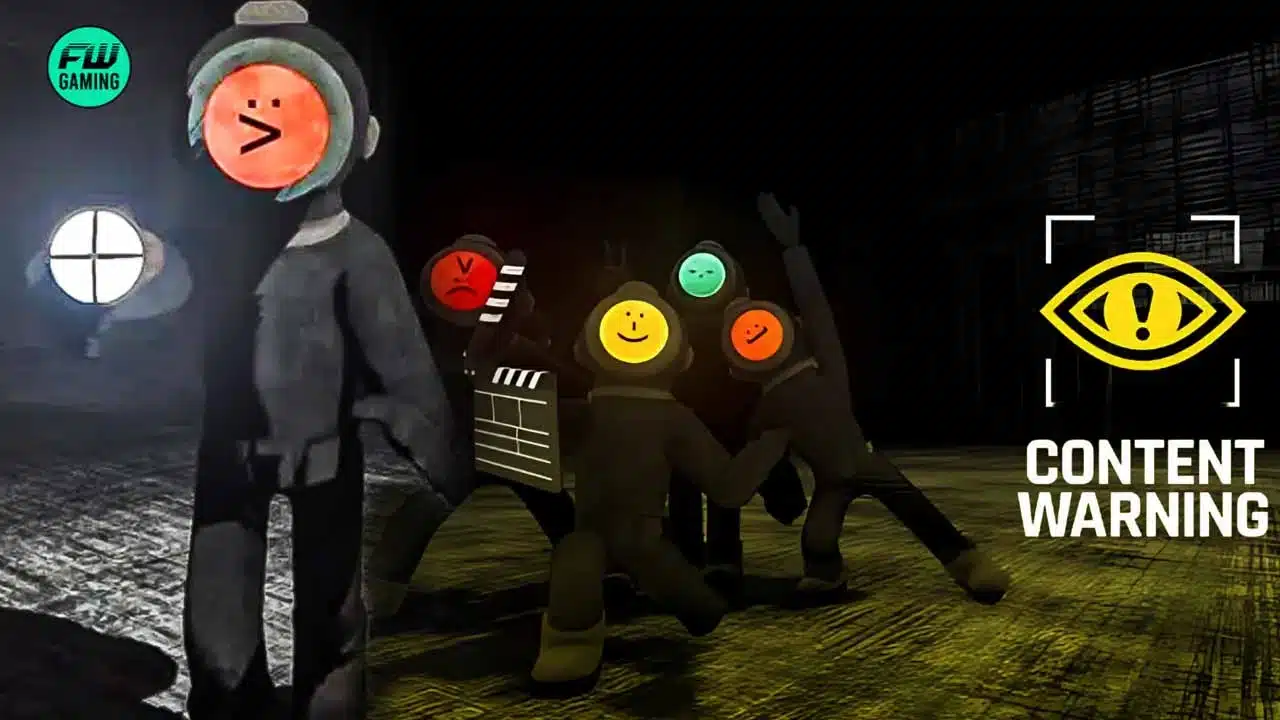
Content Warning is a game in which the videos you shoot have great importance because they are the ones that will allow you to go viral and therefore achieve the objective of the game. But you need to know where to find your saved recordings to do this.
In this article, therefore, we will tell you everything you need to know about it so that you can play quickly once you decide to start your adventure in the world of Content Warning.
Content Warning How to Find Saved Recordings
The goal of Content Warning is to record the scariest videos you can so they have a chance of going viral on SpookTube (much like our YouTube). However, since the videos will actually be recorded, you also have the possibility of being able to extrapolate them outside of the game, so that you can upload them to other social networks and have a chance of going viral in real life too.
Obviously, in order to be able to do this, though, you need to know how to access your saved videos. In this article, therefore, we will explain step-by-step everything you need to do. Fortunately, it is not a long and tedious process, so even the less experienced should not find any particular difficulties.
How to Save Recordings in Content Warning
The first thing you need to know in order to extract your videos from Content Warning is how to save them. In fact, unfortunately, the game does not have an automatic feature that allows you to do this, but you will have to perform some simple steps manually. Let’s see together what it is.
- Throw your camera into the video extraction machine to convert your recording into a disc
- Insert the disc into the TV
- Watch it and select “Save to Desktop”
As you can see, it is not a complicated process, but you will still have to wait some time to complete all the steps we have just described. However, once you quit the game, if you have followed these steps correctly, you will find the videos right on your desktop.
To be honest, there is also another way to access your saved videos and that, in reality, is faster than the method we described previously. If you want a quicker solution, here are the steps you need to follow.
- Press F3 to open the recording folder
- Go to %appdata%/Local/Temp/rec folders
- Copy and paste or trasnfer the videos
Lastly, know that all the videos you have shot in the game will be saved on your computer in the .webm format, so you will have to use a video player or your browser to open and view them. And that’s it. Now you know how to find recordings in Content Warning and you are ready to share them with everyone on your social networks. Who knows, maybe you will get lucky and go truly viral.


